 It is not obvious how to use a bitmap seamless texture in Adobe Illustrator. This tutorial will give you the steps to take advantage of the many cool seamless textures available.
The first step is to import the bitmap you wish to use into Adobe Illustrator. You can do this by either using the File | Place command or simply dragging and dropping the bitmap onto your working page. Select the bitmap and go to the Links palette. From the drop-down menu at the top right of the Links palette, select Embed Image as shown at right.
Once the image has been embedded, select Edit | Define Pattern and you will get the dialog box shown below.

Give the new pattern a name. In this case I was using a seamless texture from the Textures Unleashed Volume 2: Metal collection with a file name of Metallic Flower. I used the same name for the pattern I created in Adobe Illustrator.
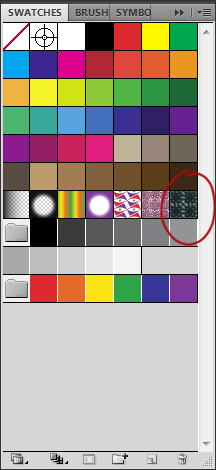 After you click OK in the dialog box, the new pattern will be available in the Swatches palette as shown circled at right. Apply this swatch to the object of your choice and you will see that the bitmap is tiled to fill the object.
Note: If you did not use a seamless bitmap, you will see seams where the bitmap is tiled.
If you are looking for more seamless textures to use with Adobe Illustrator, please visit Textures Unleashed where you can choose from hundreds of different full-color seamless textures supplied in sizes up to 2048×2048 pixels.
