Using Seamless Textures in CorelDRAW 9-X6
![]() Press the G key or click on the Interactive Fill Tool (shown at right) to select it.
Press the G key or click on the Interactive Fill Tool (shown at right) to select it.
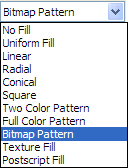 On the Property Bar, click on the Fill Type drop-down list shown at left and choose Bitmap Pattern. You will notice that the selected object is now filled with a bitmap pattern though it may not be the pattern you desire.
![]() On the Property Bar, press the Edit Fill button (shown at right) to bring up the Pattern Fill dialog box shown below.
On the Property Bar, press the Edit Fill button (shown at right) to bring up the Pattern Fill dialog box shown below.
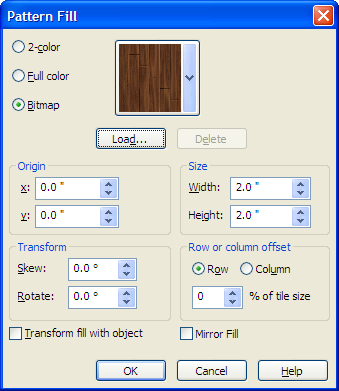
 If the Bitmap radio button (shown at left) isn’t already selected, select it now.
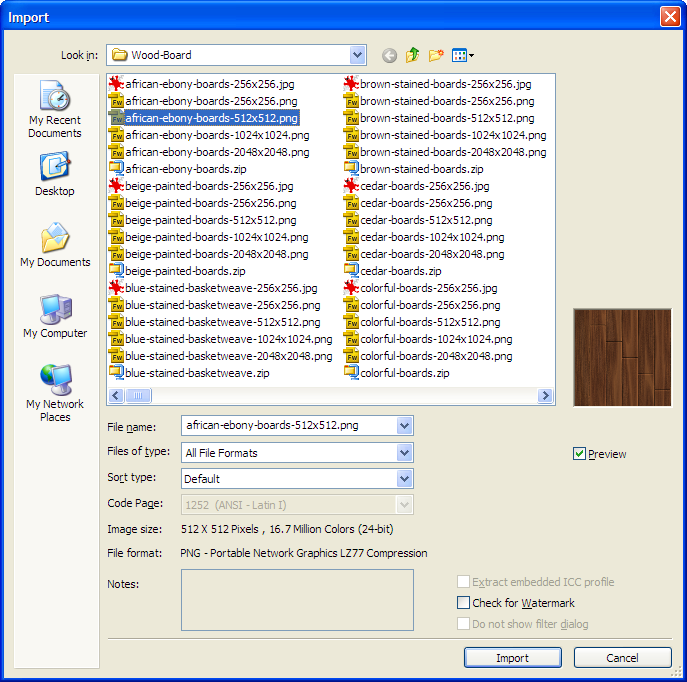
Press the Load button to get the Import dialog box shown below.
While still in the Pattern Fill dialog box, there are a number of settings you may wish to change. The most important setting is the Size. This determines the size of one tile of the seamless texture you imported. Remember that if you are using a seamless texture, the size of the object you are filling can be much larger than the size of a single tile.
This also determines the “resolution” of the seamless texture. If you imported a seamless texture file that is 512 pixels square and the size is 2.0”, the effective resolution is 256 dpi (or ppi).
While in the Pattern Fill dialog box, you can also modify the values for skewing, rotation and much more. You will get the best looking results in most cases by leaving the skewing and rotation values at zero. Those settings may look the best, but feel free to experiment with other values to get the exact look you desire.
Once you have all of the settings you want in the Pattern Fill dialog box, press OK and you are all finished. On the screen, you will see a dashed box surrounding a single tile. You can modify the size, skewing and rotation of the tile directly on the object or by modifying the values on the Property Bar. While you can modify it directly on screen, it is usually best to do this in the Pattern Fill dialog box (shown earlier) because of the option to enter values directly.
The seamless textures supplied with CorelDRAW are fairly small in size with most of them being 320×240 pixels. They are also stored as 8-bit paletted. If you are needing to fill large objects, you’ll want to look beyond the seamless textures supplied with CorelDRAW. If you are looking for more seamless textures to use with CorelDRAW, please check out the thousands of different full-color seamless textures supplied in sizes up to 2048×2048 pixels.
If you would like to learn more about CorelDRAW, consider one of the CorelDRAW Unleashed Training DVDs or schedule some CorelDRAW Training.